Tapered sidewalls
A rectangular label can track or wrinkle as it follows a changing circumference. Use the actual bottle and label to judge whether the label shape or machine route must change.
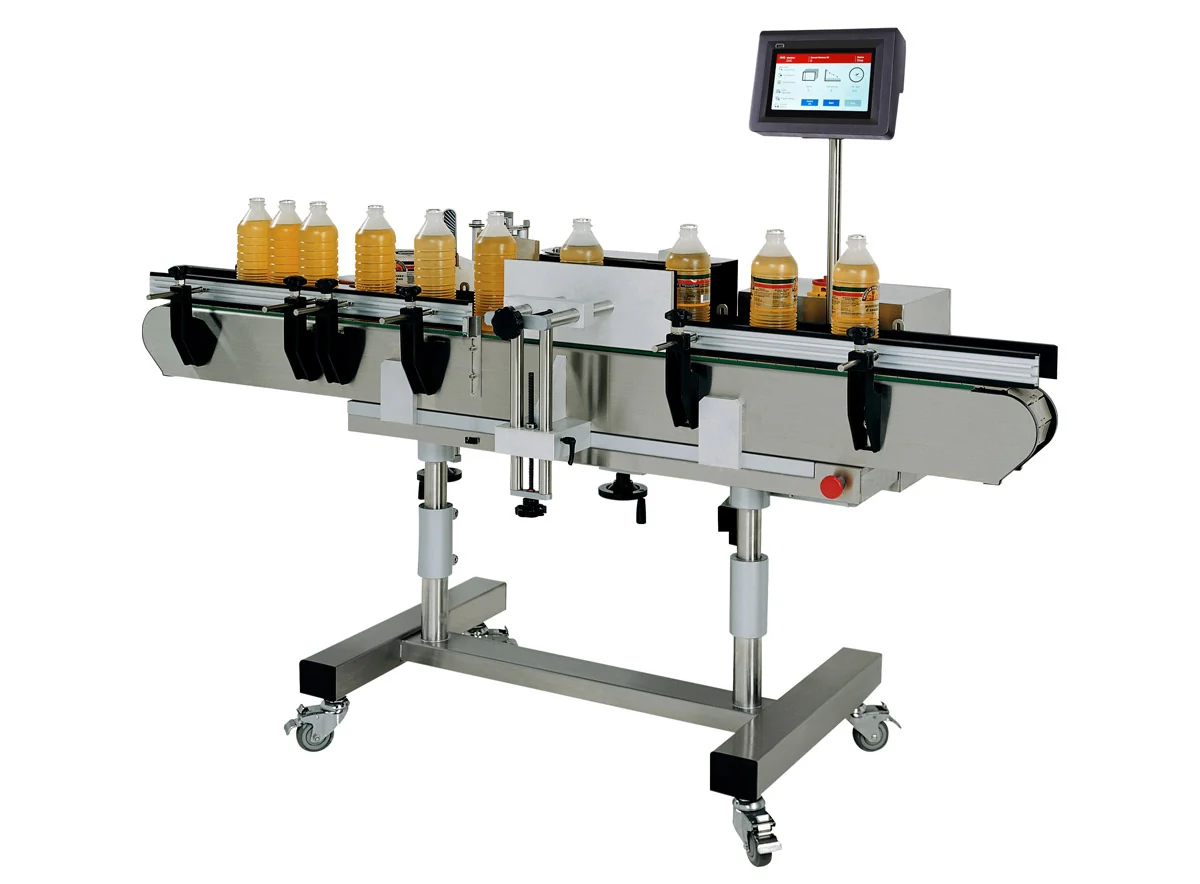
Bottle labelling starts with the container shape. Round bottles normally need controlled rotation so the label follows the circumference. Flat, oval and square bottles usually need side belts or twin heads so the front and rear labels land consistently.
Accurate bottle labelling depends on label roll direction, label length, bottle diameter, product stability and where the label needs to start and finish. Variations in bottle moulding, cap height and fill level can affect repeatability.
Often yes, provided the diameter and height range is within the machine adjustment window. Large size changes may need change parts or a different machine configuration.
Wrap-around labelling rotates a cylindrical bottle and applies one label around the body. Front-and-back labelling applies two separate labels to opposite faces or sides.
Yes. Automatic systems can be supplied with conveyors, spacing wheels, side belts, coding and line integration support.
Use these pages to move from research into the correct machine range.
Send product photos, container dimensions, label size, label roll details and target output. Lancing UK can advise the correct labeller type before quotation.
The label head dispenses the label, but bottle control determines whether it lands straight and in the correct orientation.
| Bottle condition | Likely route | Evidence to check |
|---|---|---|
| Round and stable | Wrap-around labelling | Diameter, base condition, label length, seam or overlap and ability to rotate consistently |
| Flat, oval or rectangular | Front and back labelling | Panel dimensions, orientation, side control and the relationship between both labels |
| Small batches | Semi-automatic or benchtop route | Operator loading, fixture repeatability, batch size and changeover frequency |
| Continuous production | Automatic conveyor-fed route | Spacing, conveyor interfaces, normal output, accumulation, coding and guarding |
| Clear pressure-sensitive label | Machine with confirmed sensor route | Actual label and liner, gap, transparency, material and test result |
| Shrink sleeve or neck band | Specialist sleeve applicator route | Sleeve lay-flat, cut length, container shape and shrink-tunnel requirement |
Use filled production bottles where weight changes handling. Run the smallest and largest formats with normal label rolls, define the physical placement reference and inspect a representative sequence. For wrap-around labels, check skew and the meeting seam; for front/back labels, measure each face and review their visual relationship. Repeat the check after a normal changeover.
A rectangular label can track or wrinkle as it follows a changing circumference. Use the actual bottle and label to judge whether the label shape or machine route must change.
Side pressure, stops and wrap contact can tip or deform a pack. Filled weight and cap condition should match production during the trial.
Panel position and side-belt control can vary between bottles. Inspect a representative batch rather than one selected sample.
Confirm the sensor using the real label and liner. A material description does not prove that the label gap can be detected reliably.
Oil, dust, condensation or product residue can affect adhesion. The pack condition presented to the labeller should reflect the live process.
If artwork must align to a seam, handle or closure, identify a reliable reference and confirm how the machine will orient the bottle before application.
Use the production condition when fill weight affects stability, side pressure or conveyor behaviour. Empty bottles can hide handling problems that appear on the live line.
One continuous label on a stable round bottle normally points to wrap-around. Two separate labels or an orientation-sensitive flat or oval pack normally points to front and back.
Provide the actual label and liner so a suitable sensor route can be checked. Include gap, material, core, roll diameter and unwind direction.
Mark a physical reference and define allowable skew, leading-edge position, seam or overlap and any front-to-back relationship rather than relying only on a subjective visual description.
It may, but guides, belts, head positions, sensors and change parts must remain practical across the range. Test the extremes and include a normal changeover.
A large product list does not always require every SKU to be tested, but the sample set must cover every materially different handling and label condition. Group bottles by geometry, stability, label construction and orientation requirement so the trial represents the real production risk.
| Representative sample | Why it belongs in the trial | What to record |
|---|---|---|
| Smallest diameter or narrowest stable contact area | Challenges guides, sensors, wrap contact and product stability | Settings, label position and any dedicated support required |
| Largest diameter, width or height | Checks machine adjustment, head position and available clearance | Practical change range and operator access |
| Lightest or least stable filled format | Reveals tipping, yaw or deformation that a heavier bottle can hide | Required spacing, side control and normal line condition |
| Most tapered or irregular sidewall | Challenges label tracking, wrinkle control and consistent contact | Accepted label shape, position and visual result |
| Widest, longest or otherwise most demanding label | Checks dispense, web tracking, wipe-down and seam or edge behaviour | Roll data, sensor route and accepted application |
| Clear, reflective or difficult-to-detect label | Requires evidence that the actual gap and liner can be sensed | Production roll and confirmed sensor set-up |
| Orientation-sensitive bottle | Tests alignment to a seam, handle, closure or moulded feature | Reliable datum and agreed placement reference |
For each family, record the product condition, guides or tooling, label-head position, sensor position, label roll and the physical reference used to judge placement. The purpose is not to publish an unsupported accuracy figure; it is to make the accepted result repeatable after a normal operator changeover. Where a new bottle changes the control method rather than only the adjustment, treat it as a separate family.
This guide helps decide the route. Use the round and wrap-around range for stable cylindrical bottles, the front and back range for flat or oval faces, and the semi-automatic machine page for operator-loaded batches. The commercial bottle labelling selector gives a wider overview, while the specialist bottle labellers site owns the deeper bottle-specific search route.
Include filled products where weight affects handling, normal label rolls, marked placement examples and the expected changeover pattern.
Choose samples that represent geometry and handling extremes. The most useful matrix shows why each bottle is included and which label or machine risk it challenges.
| Smallest/lightest | Sensor and conveyor stability |
|---|---|
| Largest/heaviest | Guide range and wrap/contact load |
| Most tapered | Skew and bubble risk |
| Clear or difficult label | Sensor and release behaviour |
| Front/back format | Orientation and label relationship |
| Changeover return | Repeatability from recorded settings |
Use the guide to prepare evidence for this part of the project.
Next guideUse the guide to prepare evidence for this part of the project.
Next guideUse the guide to prepare evidence for this part of the project.
Next guideUse the guide to prepare evidence for this part of the project.
Send the product, label and line information so the most suitable labelling route can be checked before quotation.