What information should I prepare first?
Prepare product photos, container dimensions, label roll details, target output, line layout and any coding or integration requirements before asking for a recommendation.
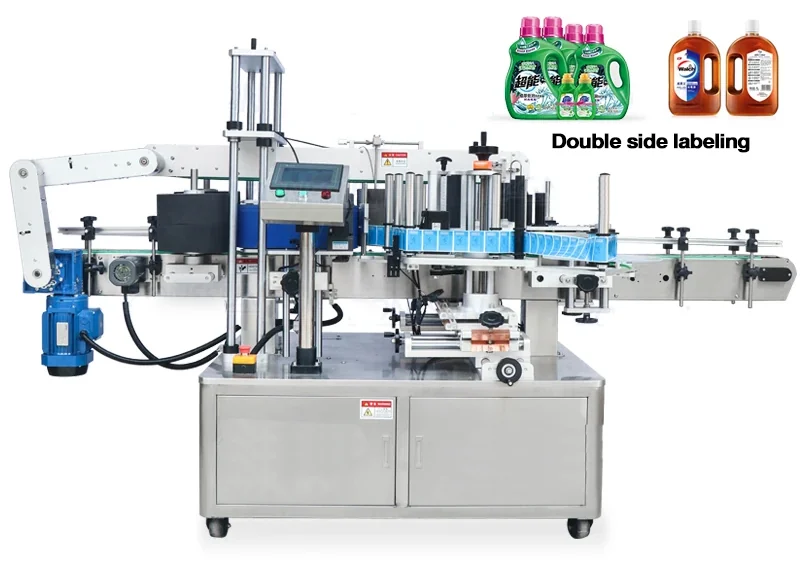
What product samples, label rolls and data to send for a labelling machine trial before quotation or acceptance testing.
This guide is for preparing samples for a labelling machine test. Good trial samples should represent real production variation so the supplier can see how the machine handles the product at realistic conditions.
It is most useful for new projects, difficult products and applications with tight placement tolerance. The aim is to make the enquiry clearer before quotation, reduce the risk of under-specified equipment and help buyers compare labelling machine options on practical production details.
Before choosing a machine, collect the details that affect label presentation, product control and line uptime. These checks help decide whether the best route is a semi-automatic labeller, compact automatic system, inline applicator, print-and-apply unit or a fully integrated labelling line.
The correct labelling route should be judged against real products and real labels. Small differences in container shape, label material, label gap, product stability or line speed can change the applicator head, product handling and acceptance test requirements.
| Send | send minimum, typical and maximum pack variants |
|---|---|
| Include | include real labels on production backing paper |
| Tell | tell the supplier if products are empty or filled |
| Define | define target output and tolerance upfront |
| Include | include photos of current line layout if integrating |
For more accurate advice, send pack photos, label roll details, target output, current bottleneck and any drawings or videos of the existing line. Lancing UK can then help identify the most practical labelling route before a formal quotation is prepared.
Use these pages to compare products, applications and guide content connected to this topic.
Use this related page to compare the labelling route, specification checks or quotation details.
RelatedUse this related page to compare the labelling route, specification checks or quotation details.
RelatedUse this related page to compare the labelling route, specification checks or quotation details.
RelatedUse this related page to compare the labelling route, specification checks or quotation details.
RelatedUse this related page to compare the labelling route, specification checks or quotation details.
RelatedUse this related page to compare the labelling route, specification checks or quotation details.
Prepare product photos, container dimensions, label roll details, target output, line layout and any coding or integration requirements before asking for a recommendation.
That depends on output, changeover frequency, product stability and available footprint. The same label can require different machinery at different production volumes.
Clear product, label and line information reduces assumptions, which makes it easier to compare machine routes and avoid under-specified equipment.
Send product photos, dimensions, label roll details and target output. Lancing UK can help shortlist the correct labelling machine type.
Machine trials should challenge the product handling, label feed and sensing conditions expected in production. A single perfect empty bottle and a hand-made short roll can prove the wrong thing.
Include the smallest, largest, lightest, least stable, most tapered and most difficult-to-orient formats where they differ. Explain which feature makes each sample important.
Filled weight, cap, surface finish, temperature and flexibility can change how a pack travels. Trial the state in which it will actually reach the labeller.
Use the intended face stock, liner, adhesive, gap, core, roll diameter and unwind. Include clear, metallic or highly variable artwork where relevant.
Agree a reference edge, label position and visual standard before the trial. Keep signed or photographed accepted samples with the results.
Use the table to turn a broad requirement into evidence that can be reviewed during sample trials, FAT, installation and handover.
| Area | What to establish | Practical check |
|---|---|---|
| Round bottle | Diameter, taper, seam, filled weight and wrap area | Rotation, skew, seam and adhesion |
| Flat/oval container | Face geometry, side stability, orientation and label pair | Datum, front/back relationship and wipe-down |
| Pouch or carton | Thickness, flatness, feed direction and surface | Presentation, trigger repeatability and edge alignment |
| Print-and-apply case | Case variability, label area, data and line spacing | Print readability, correct data and applied position |
| Pallet/load | Load envelope, wrap, straps, face access and position | Reach, contact, label protection and scanning |
| Label roll | Construction, dimensions, unwind, full roll and splice | Sensing, tracking, release and restart |
Continue with the pages that address the next technical or commercial decision.
Check whether trial rolls represent production feed quality.
AcceptanceUse samples in a controlled factory acceptance plan.
BottlesBuild a bottle-format test matrix.
SamplesSend Lancing the proposed products and label rolls.
Send the product, label and line information so the most suitable labelling route can be checked before quotation.